|
I was so excited yesterday. I finally remembered to pick up the Lemi-Shine I needed to make my own dishwasher detergent. I made the mix, 1/2 cup Borax - 1/2 cup Washing Powder - 1/4 cup Lemi-Shine and I put my vinegar in the rinse aid section. Load #1 came out fine, just like I had used store bought detergent. Second load was not so good. The plastic and glass had a filmy residue. This will not work for me! I believe it is our dishwasher. I do not think that it likes any type of powdered detergent. So I am using up the last of our Aldi detergent and then I am going to try the Method tablets that our grocery store just started carrying!
0 Comments
Before you throw that pickle jar away think twice! There are so many uses for jars around the house. You can use them to store cotton balls, q-tips, crayons, pencils, hair bands, etc. You get the point. But lately I began to find even more items to store in jars; salt, baking soda, homemade cleaning supplies! I love that they are clear so I can see what is inside and how much is left. I also like that I am keeping them from the landfill, this is just another form of recycling. Most of my jars are from jelly, pickles, etc. I just wash them out and clean the label off. In most cases the label is only attached in one small spot on the jar. This sticky spot can be removed with peanut butter or googone spray (I have also heard that vinegar works but I have not tried that yet, let me know if it works). Homemade Laundry Detergent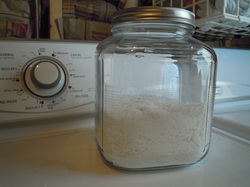 1 bar grated ZOTE soap (I grate it by hand with a cheese grater. A food processor would also work) 1 1/2 cup Borax 1 1/2 cup Arm&Hammer Super Washing Soda (do not confuse with Baking Soda!!) Mix all ingredients in an jar (I bought this one at Walmart for $5). You can use 1 or 2 tablespoons per load. If you are washing in cold water it is best to dissolve the soap first. I do this by running the hot water just long enough to dissolve and switching it to cold. Do you have a HE Washing Machine? From everything I have read this detergent works well in your machine because it is very low sudsing. However you may want to research for yourself. I know you do not want to mess up your machine! There are many sites out there with recipes for homemade detergent. This was the site, DIY Natural, I guess I found first and then I modified the recipe slightly. *LAUNDRY TIP* Did you know you can use vinegar as a fabric softener and odor remover. Just put a cup of vinegar in your rinse dispenser. Homemade Cleaning 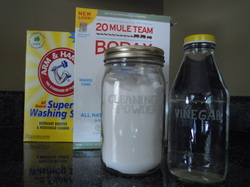 Cleaning Powder: 2 cups of Borax 1 cup of Arm&Hammer Super Washing Soda 1/2 cup Baking Soda I mixed all ingredients and put in a Mason jar... I think this one used to have honey it it. I had researched cleaning powders and there were so many different recipes out there. Same ingredients just different mixtures. So this was the mix I came up with. Each of these ingredients can be used separately for the same uses. My main purpose for this mix was for scrubbing the toilets. Vinegar: I do not make my own vinegar... I don't have a clue how to! But you can buy vinegar super cheap and it can be used for SO many things around the house. I keep some in the kitchen, laundry room and bathrooms. Google "uses for vinegar" and you will see why. My main uses are for fabric softener/odor remover in laundry, mix it with my cleaning powder to scour sinks, counters, toilets, and tubs. My laundry room vinegar is in the gallon jug I bought it in... that will last me a couple months. My bathroom vinegar is in my quickly etched Yohoo! bottle. *VINEGAR TIP* I learned this from my son, who learned it in his ALPHA class. Did you know you can put vinegar on a bee sting, mosquito bite, or poison ivy rash! It is supposed to help stop the itching. I used it on my 6 year old son. He said it stung just a little but then the itching was gone :) Random Jars  I saw a really cool jar on a Pineterest link for Thrifty Fun where someone had cut the top off of the cardboard container salt comes in. They put it in the ring lid of a mason jar. This got me started in the kitchen!
My baking soda, salt, and homemade grill seasoning are all in jars now. All of my birthday candles and food coloring were crammed in one little box that did not work well in the spice cabinet. Now they fit and look so much better! The last problem we had was the salt for our neti pots. It was in the cardboard canister from the store. We keep it in the bathroom and I could tell that the moisture was starting to effect the salt. So I etched a small jelly jar and now our neti pot salt will stay nice and fresh! (If you or someone in your family suffers from indoor or outdoor allergies you really should look into a neti pot. They are amazing!) This is the mirror I found at a yard sale. 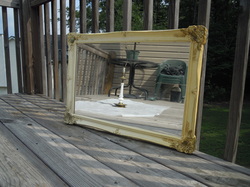 The frame for this mirror is plastic with some type of "antiquing" finish on it. It seemed to have a semi-porous surface so I did not sand or prime it. If you wanted to paint a smooth plastic or metal frame you would want to sand with fine grit paper and/or prime it.I began by removing the back off of the mirror. This frame had screw holding on it's plastic back. Then I sprayed 2 coats of paint. I waited 10-15 minutes between coats. It is important to remember when spraying something that it is best to hold the can several inches away from your object and do light layers of paint. This will help avoid puddling or dripping paint. 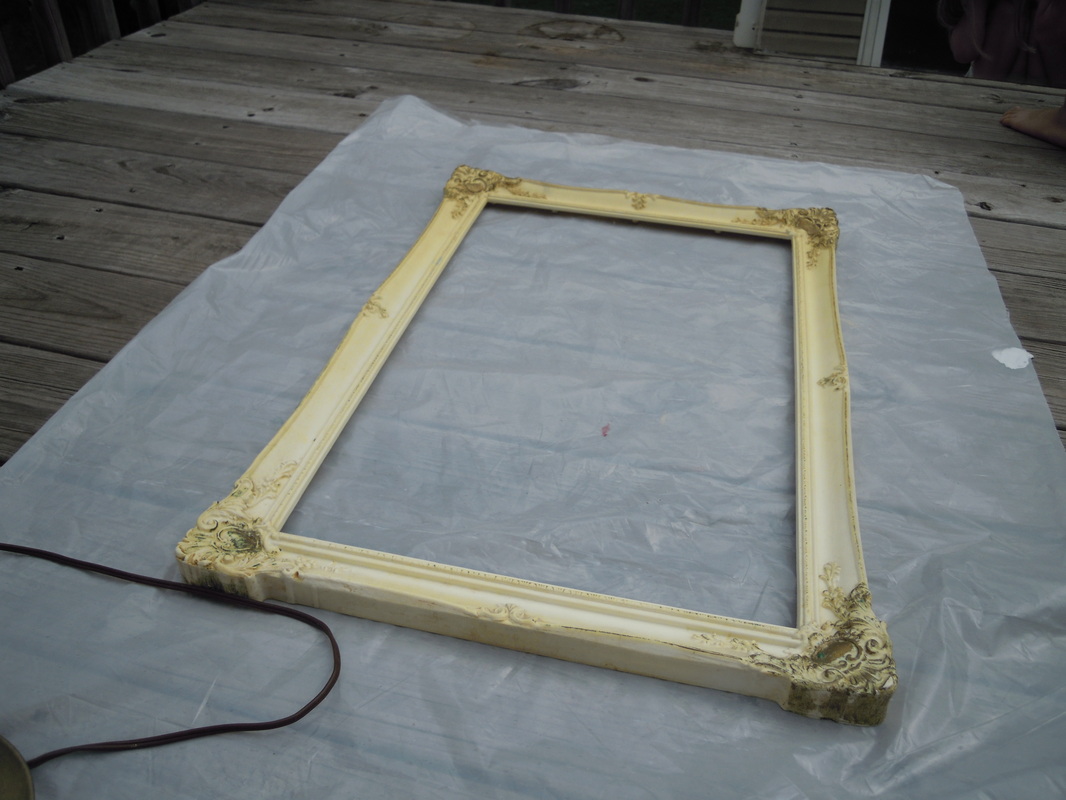 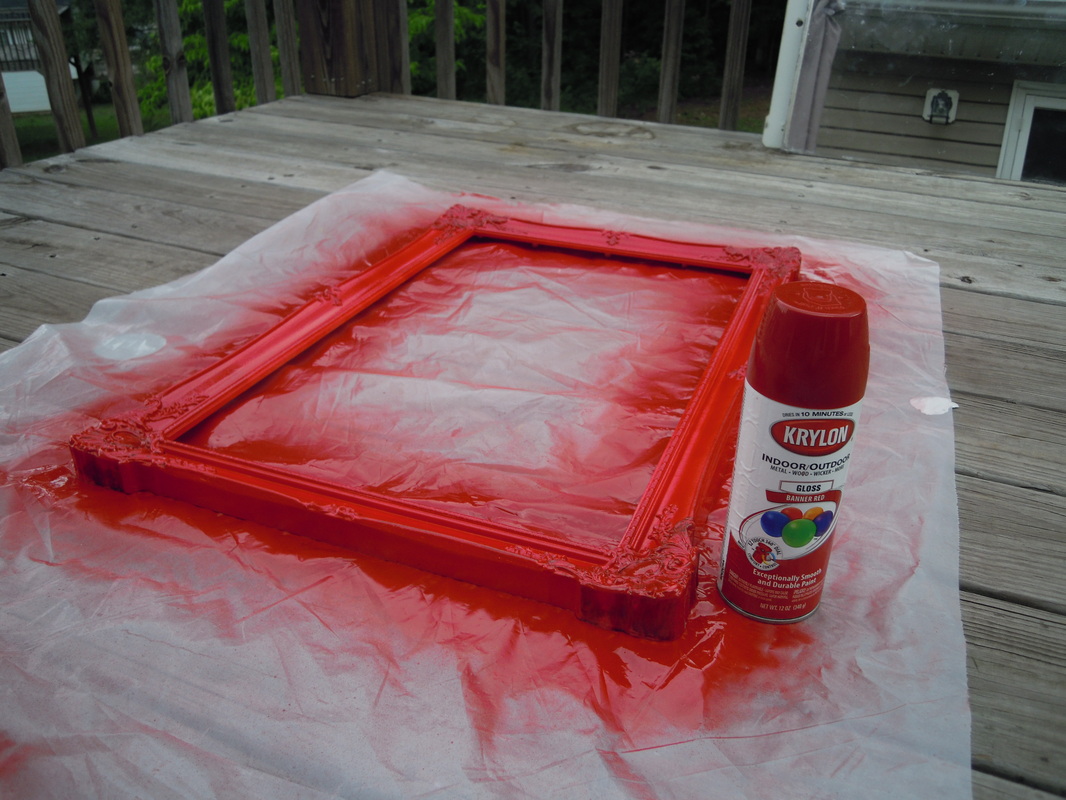 I allowed 30 minutes for the paint to set, I did not want any fingerprints so I resisted the urge to "test" a spot and gave it plenty of time to dry. Once it was dry I flipped it over and remembered that the mirror seemed a little loose in the frame. So I pulled out my heavy-duty double sided mounting tape. I cut little strips and attached them to all four corners and to the two long sides. I then carefully put the mirror in place and screwed the back on.  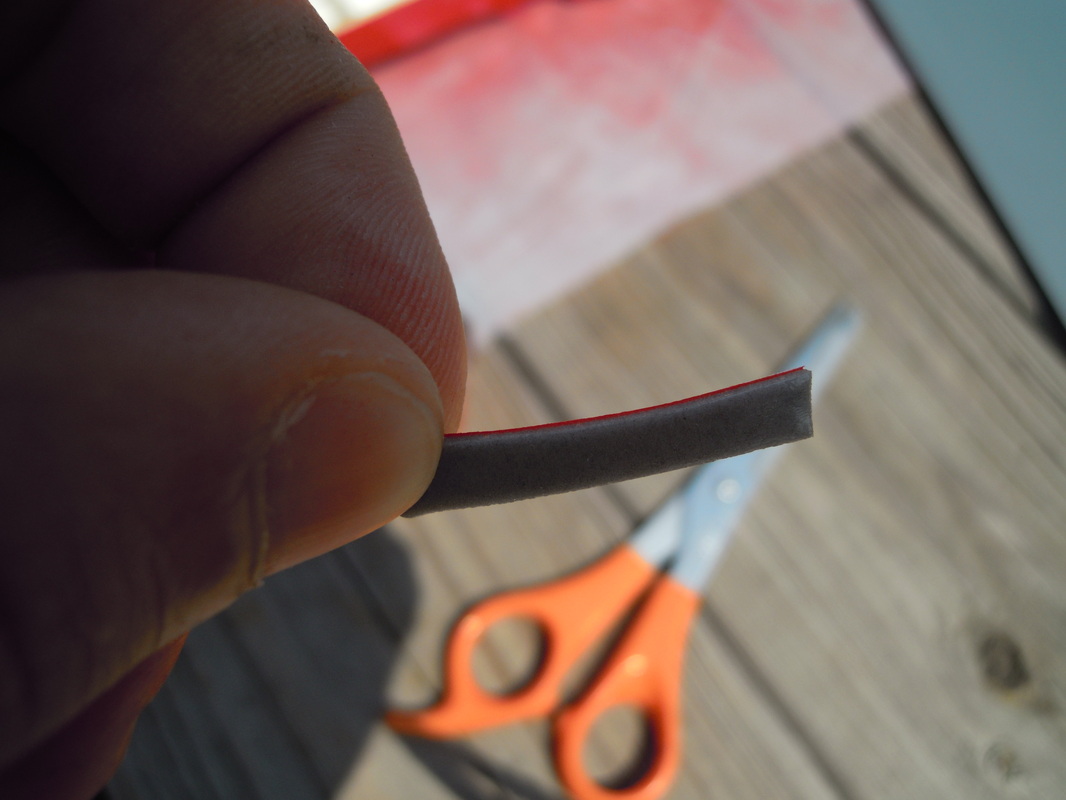 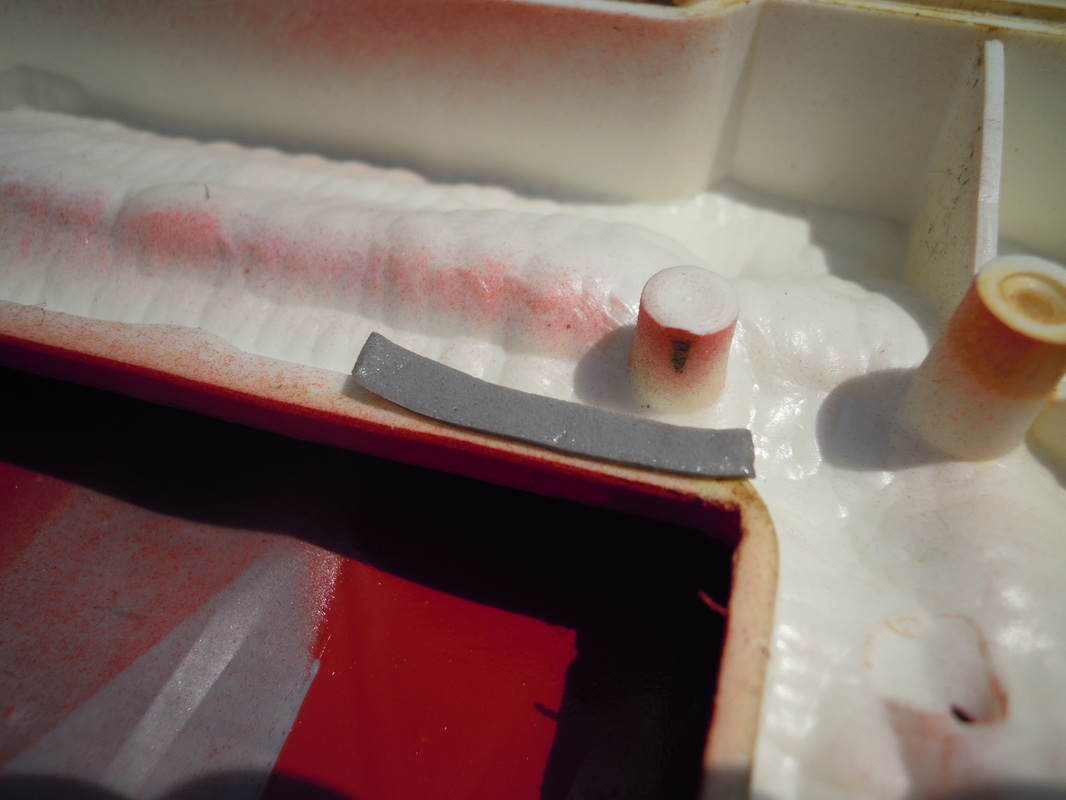 And here is the finished project! All bright shiny and new :) 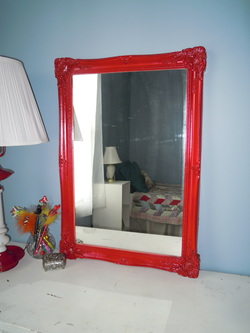 This morning I bought three items at a neighbors yard sale. I bought a mirror, a lamp and a wooden box. I decided these would be good projects to use to start a DIY project blog. I will begin with the lamp. It had a nice shape, brass base and top with white glass in the middle. Most importantly it works! 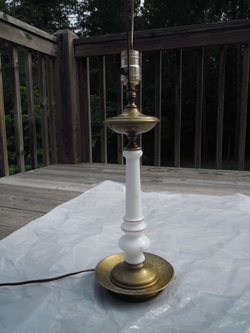 I began by taping the white part, the part where the bulb is screwed in, and the cord that is close to the lamp. Next time if I have a large section I do not want sprayed I will cover the whole thing... you will see why later. Then I sprayed the lamp. If you are going to spray metal with a shiny finish it is best to rough it up with some fine grit sandpaper first. If it is an item that will get handled a lot or if it will be outside then you may also want to use a coat of primer to make sure your paint will not chip off. Since this lamp had tarnished brass then all it needed was two coats of paint. I then went back over a few spots I missed under the bowl shapes. At one point my drop cloth blew up on the corner and stuck to the lamp :( So I had to go back over that spot. No worries it hid the spot good enough. *note to self: weigh corners down when spraying outside!* 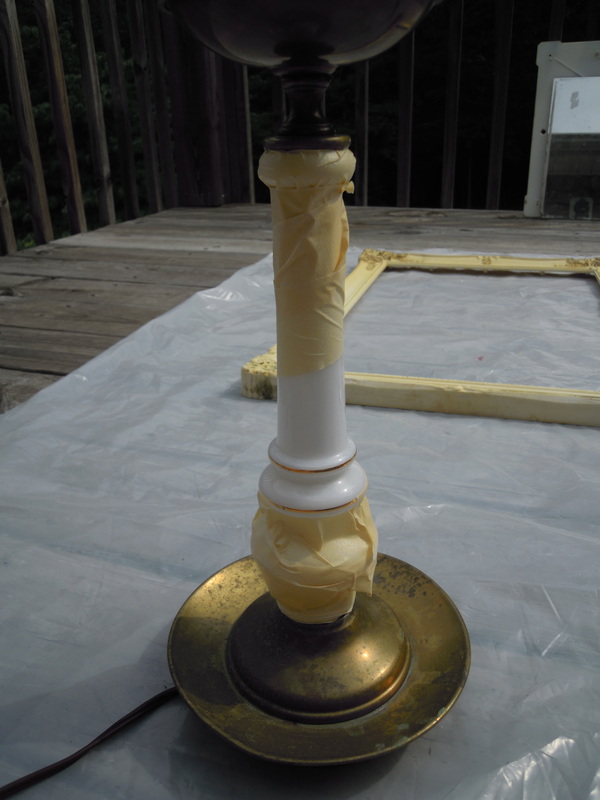 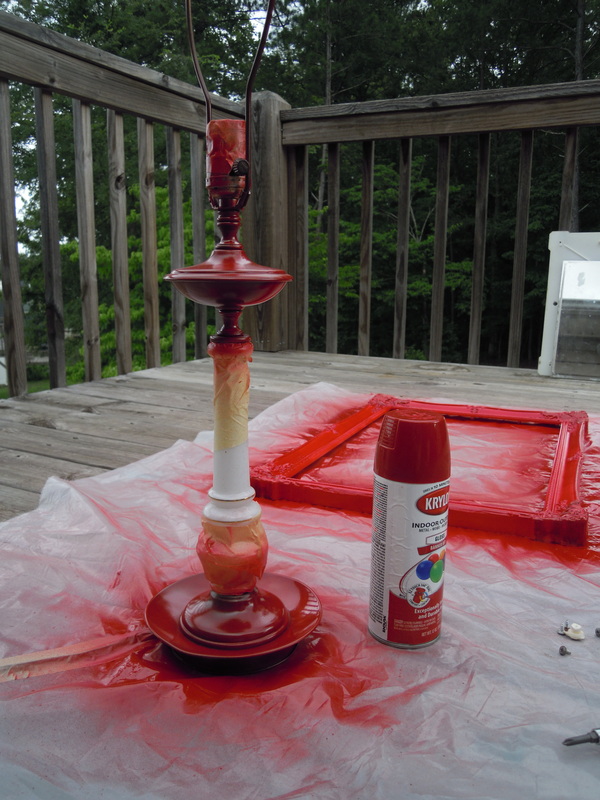 I let the lamp dry for about 30 minutes and then I removed the tape. As I took the tape off I realized I should have covered all of the white part. Luckily I had a remedy for the over spray! I used a green kitchen scrubber and it took the over spray right off. This worked because it is glass. If it had been a soft plastic or metal it would have been a different outcome. 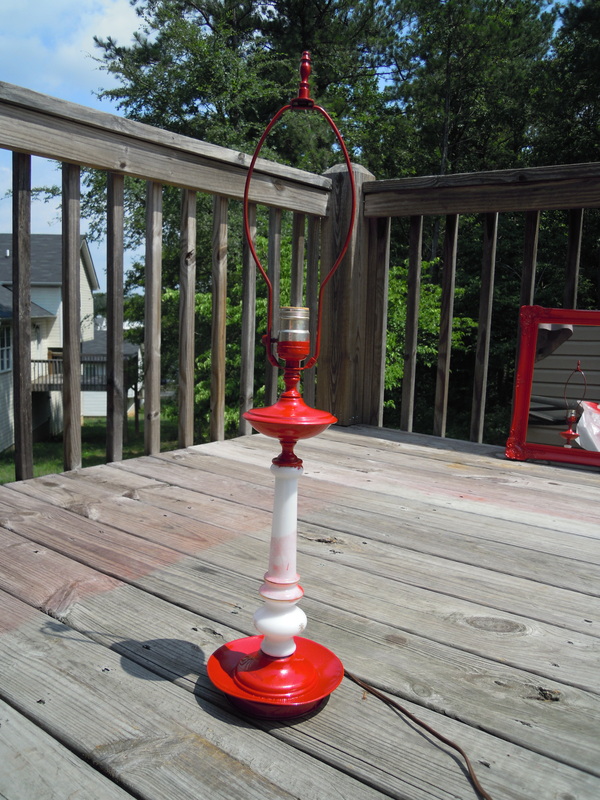 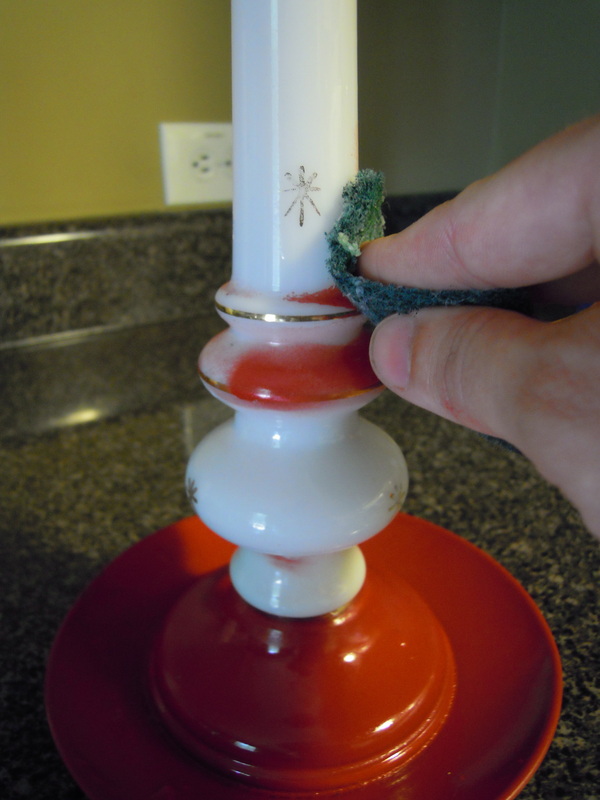 I am guess that the bottom of the lamp used to be covered by a nice piece of felt. But as you can see from the photo the felt had rotted. This is what it looked like when I pulled the felt off. To get a new piece of felt to fit the bottom I traced it with a piece of chalk. Cut it out and trimmed where needed. Since the lamp will not be moved around I just placed the felt on the bottom. Because there were still pieces from the old bottom it will stay in place. If I were to do this in the future I will just use some tacky craft glue. 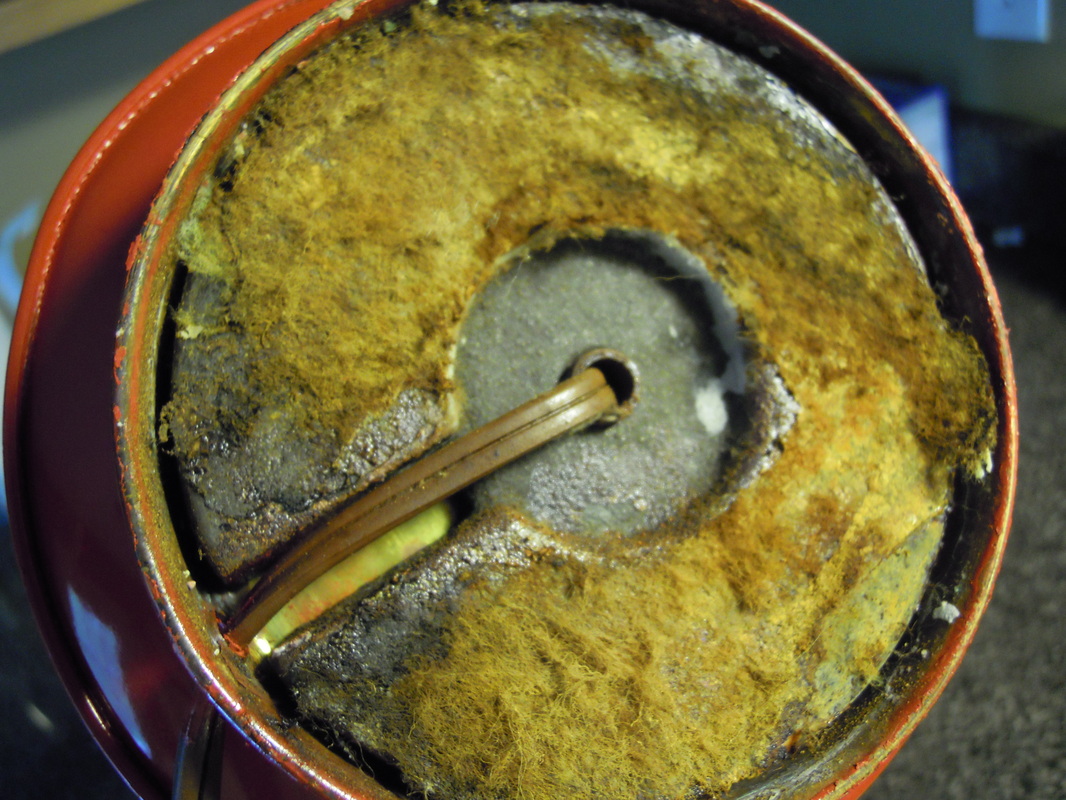  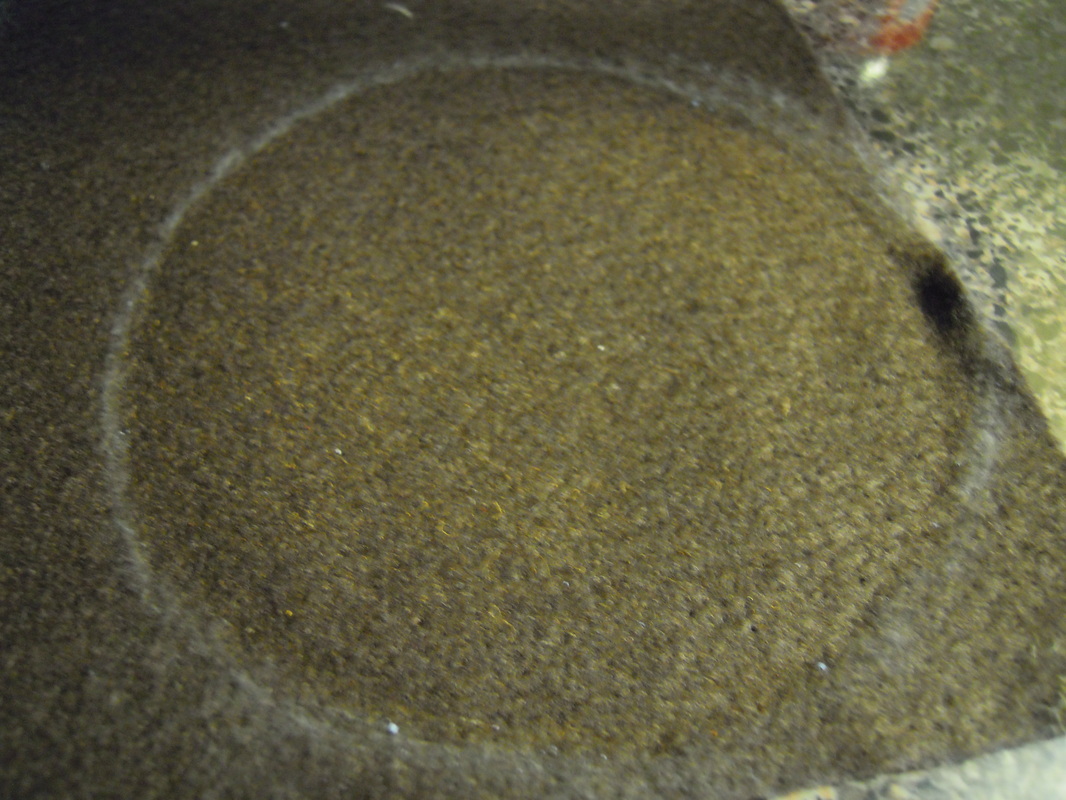 And here is the finished project... Before and After   |
DIYMy favorite part about being creative is inexpensive Do-It-Yourself projects. These are either ideas I came up with or inspiration was found from another crafter's blog. If I found it on a blog I would like to give credit where credit is due and hope that you would do the same! Enjoy browsing and I hope you find some thrifty inspiration here. Categories
All
Archives |
 RSS Feed
