|
This is the mirror I found at a yard sale. 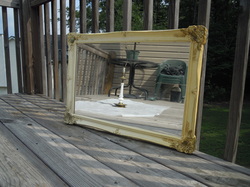 The frame for this mirror is plastic with some type of "antiquing" finish on it. It seemed to have a semi-porous surface so I did not sand or prime it. If you wanted to paint a smooth plastic or metal frame you would want to sand with fine grit paper and/or prime it.I began by removing the back off of the mirror. This frame had screw holding on it's plastic back. Then I sprayed 2 coats of paint. I waited 10-15 minutes between coats. It is important to remember when spraying something that it is best to hold the can several inches away from your object and do light layers of paint. This will help avoid puddling or dripping paint. 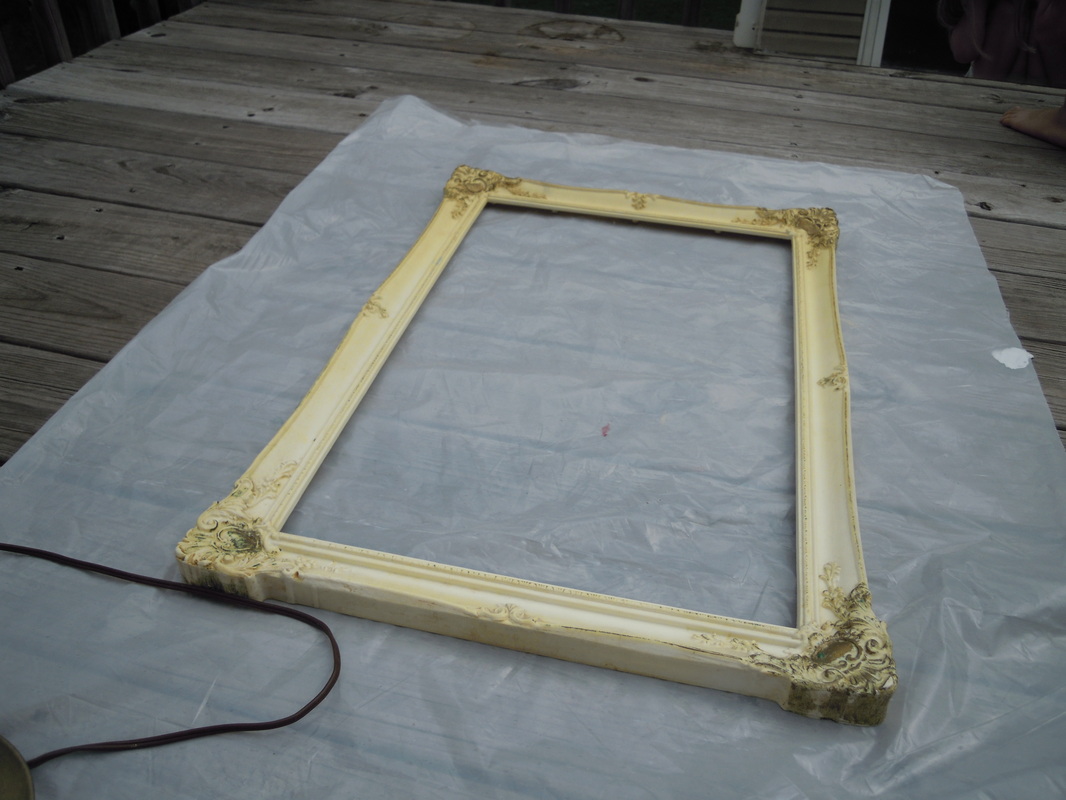 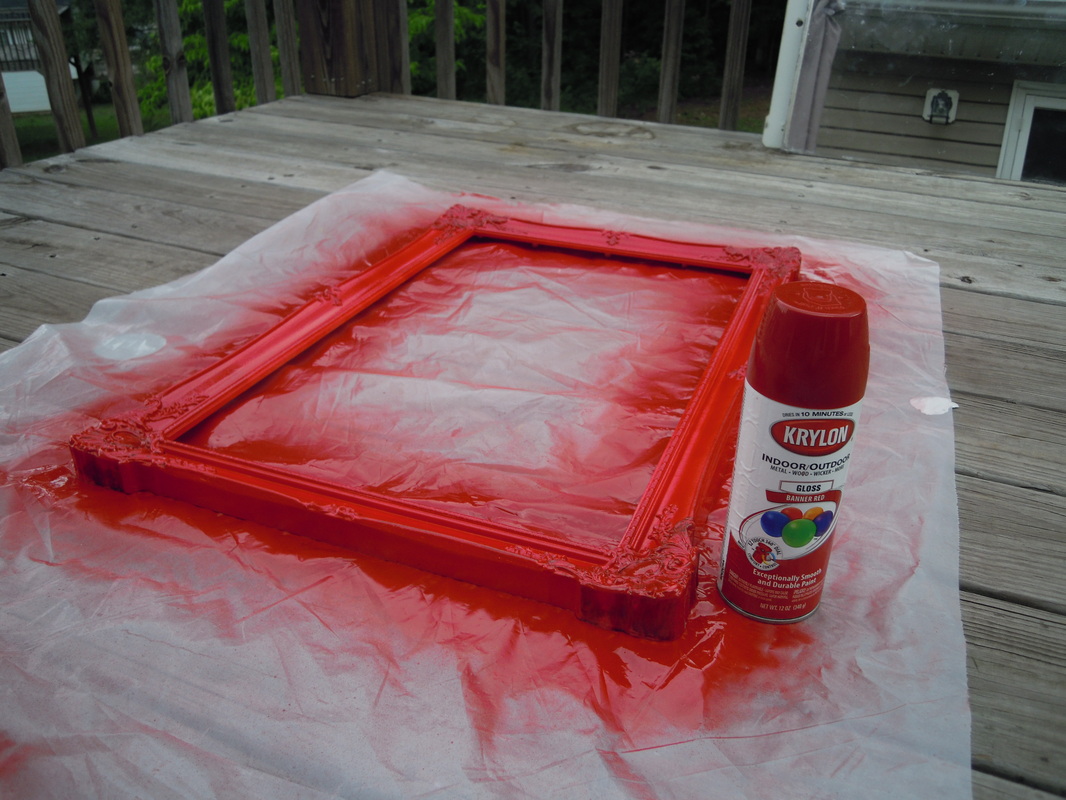 I allowed 30 minutes for the paint to set, I did not want any fingerprints so I resisted the urge to "test" a spot and gave it plenty of time to dry. Once it was dry I flipped it over and remembered that the mirror seemed a little loose in the frame. So I pulled out my heavy-duty double sided mounting tape. I cut little strips and attached them to all four corners and to the two long sides. I then carefully put the mirror in place and screwed the back on.  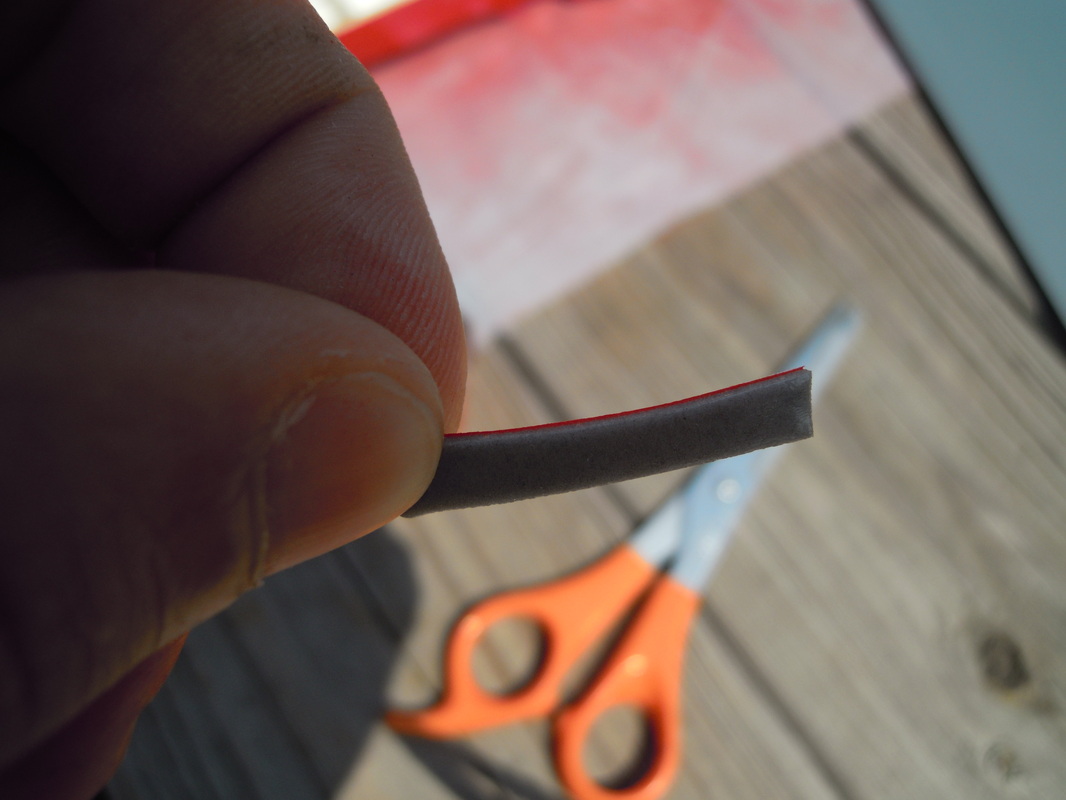 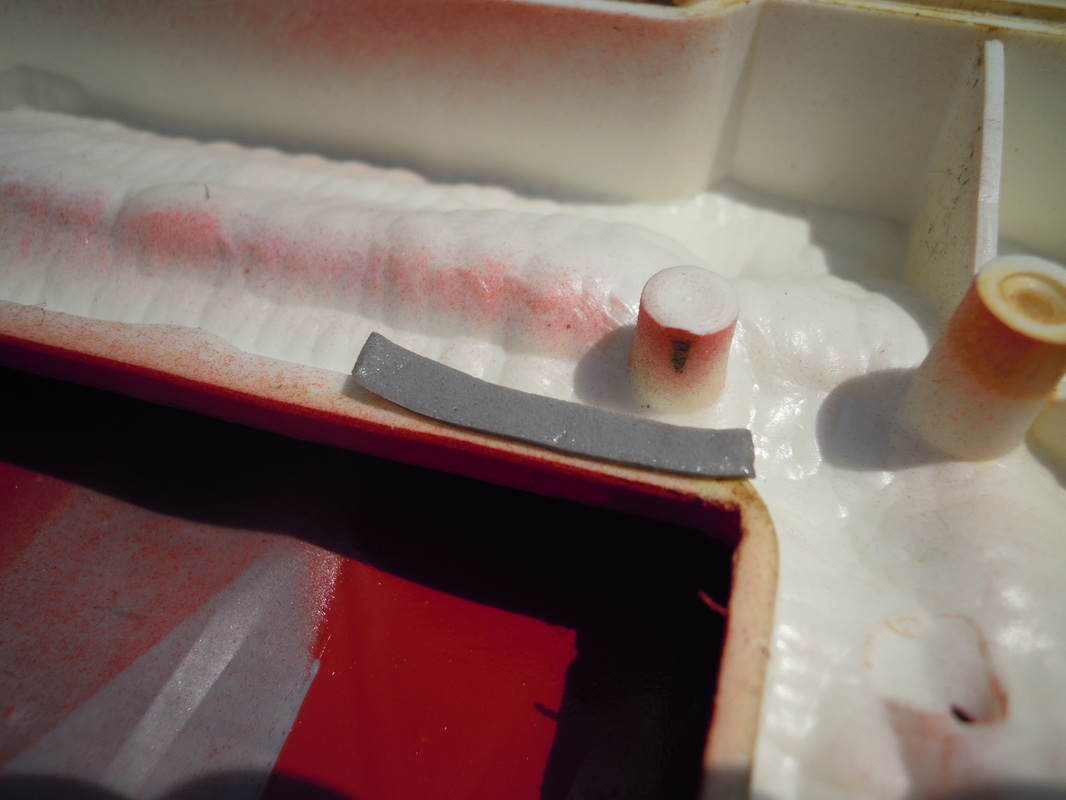 And here is the finished project! All bright shiny and new :) 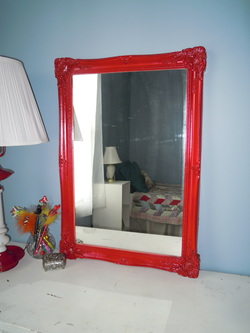
0 Comments
This morning I bought three items at a neighbors yard sale. I bought a mirror, a lamp and a wooden box. I decided these would be good projects to use to start a DIY project blog. I will begin with the lamp. It had a nice shape, brass base and top with white glass in the middle. Most importantly it works! 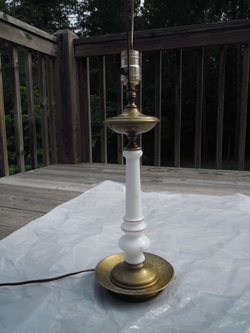 I began by taping the white part, the part where the bulb is screwed in, and the cord that is close to the lamp. Next time if I have a large section I do not want sprayed I will cover the whole thing... you will see why later. Then I sprayed the lamp. If you are going to spray metal with a shiny finish it is best to rough it up with some fine grit sandpaper first. If it is an item that will get handled a lot or if it will be outside then you may also want to use a coat of primer to make sure your paint will not chip off. Since this lamp had tarnished brass then all it needed was two coats of paint. I then went back over a few spots I missed under the bowl shapes. At one point my drop cloth blew up on the corner and stuck to the lamp :( So I had to go back over that spot. No worries it hid the spot good enough. *note to self: weigh corners down when spraying outside!* 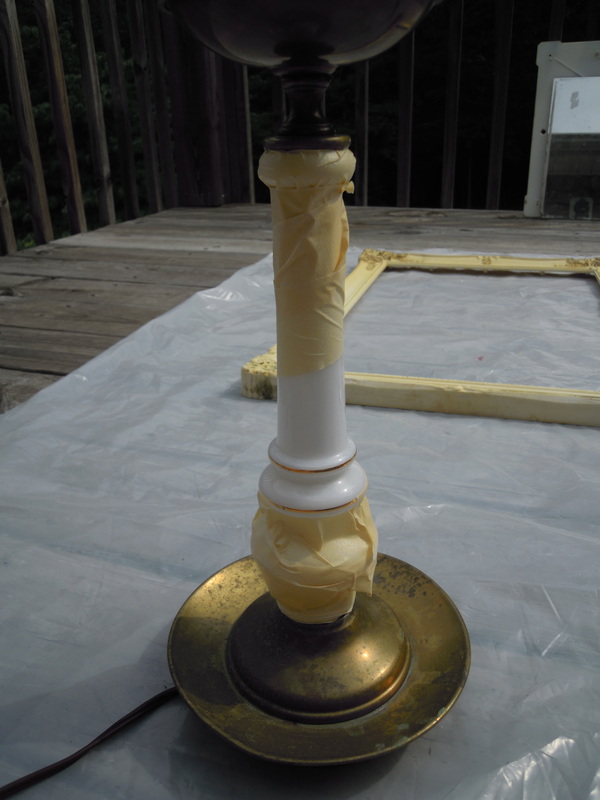 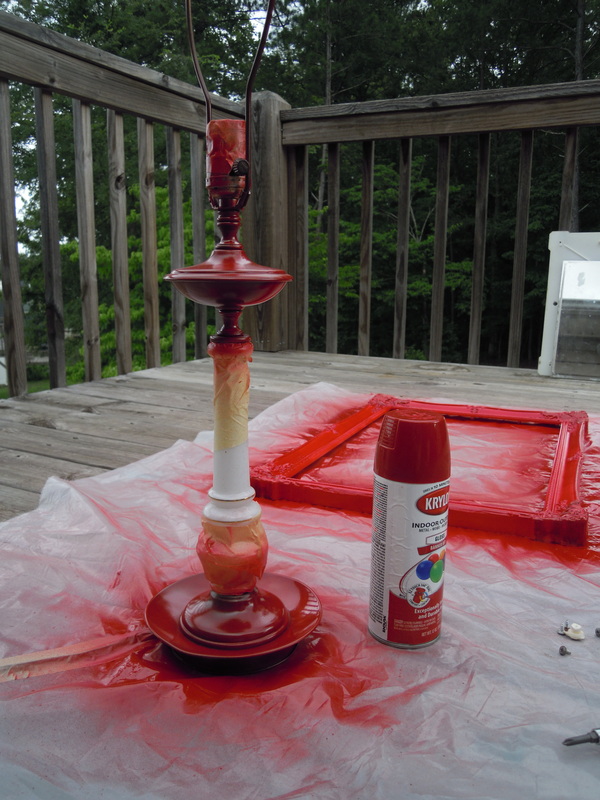 I let the lamp dry for about 30 minutes and then I removed the tape. As I took the tape off I realized I should have covered all of the white part. Luckily I had a remedy for the over spray! I used a green kitchen scrubber and it took the over spray right off. This worked because it is glass. If it had been a soft plastic or metal it would have been a different outcome. 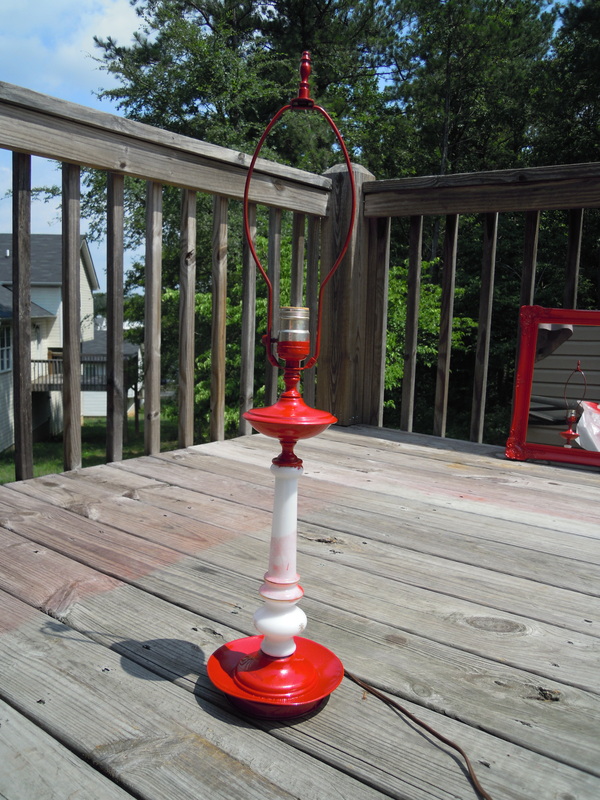 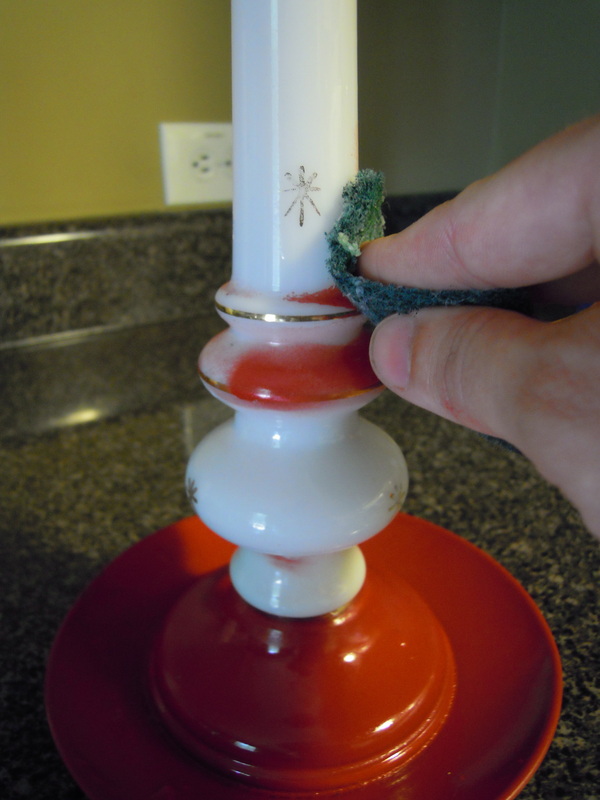 I am guess that the bottom of the lamp used to be covered by a nice piece of felt. But as you can see from the photo the felt had rotted. This is what it looked like when I pulled the felt off. To get a new piece of felt to fit the bottom I traced it with a piece of chalk. Cut it out and trimmed where needed. Since the lamp will not be moved around I just placed the felt on the bottom. Because there were still pieces from the old bottom it will stay in place. If I were to do this in the future I will just use some tacky craft glue. 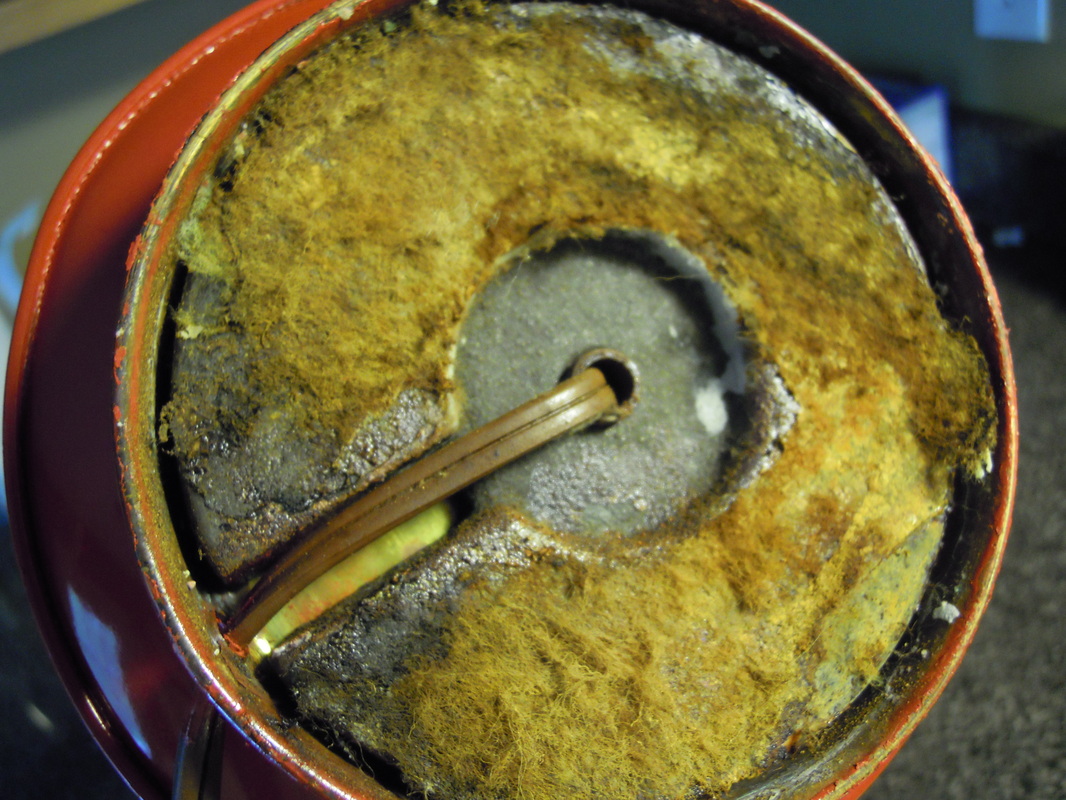   And here is the finished project... Before and After   |
DIYMy favorite part about being creative is inexpensive Do-It-Yourself projects. These are either ideas I came up with or inspiration was found from another crafter's blog. If I found it on a blog I would like to give credit where credit is due and hope that you would do the same! Enjoy browsing and I hope you find some thrifty inspiration here. Categories
All
Archives |
 RSS Feed
